
The College Application Process: A Step by Step Guide
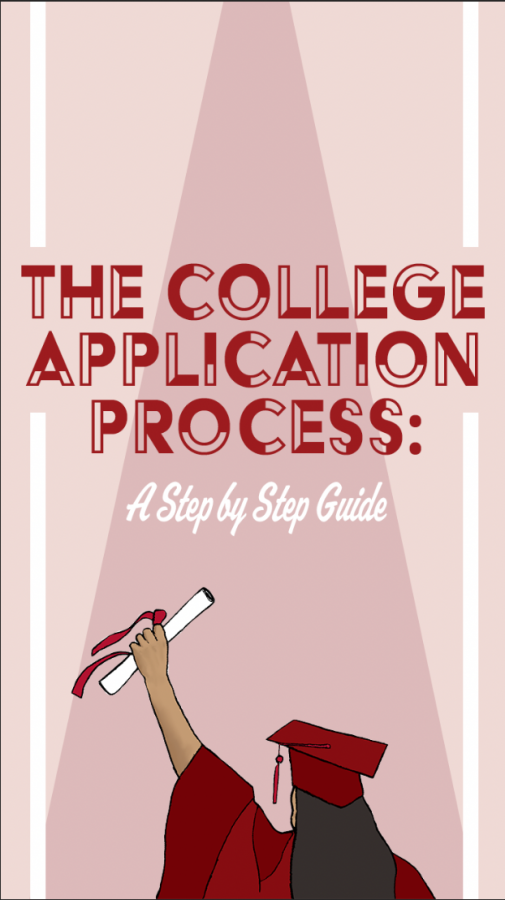
Photo Credit: Luiza Decenzi
If you’re struggling with plans after high school—ranging from a gap year to the military, jobs, technical or trade school, or a 2- or 4-year college/university—Boise High’s College and Career Center is the perfect place to receive assistance. Our college and career counselor, Mr. Chehey, has access to dozens of contacts, scholarship forms, application tips, and much more to help you succeed in the years to come.
October 21, 2020
As winter approaches, seniors buckle up and prepare for their future after graduation. Whatever your plan may be, it’s a stressful time of the year.
If you’re planning on pursuing higher education, the application process may seem incredibly daunting, filled with essays, documents to be submitted, financial aid, and scholarships… It is not as overwhelming if you’re prepared. In case you don’t know where to begin, here is a step by step process of applying to college with tips for a successful, stress-free process.
Step 1: The College List
Sounds simple right? List all the colleges, universities, academies, or institutes that interest you. If you don’t know where to begin, start small. Ask yourself a few questions. In-state, out of state, or abroad? What career or subjects interest you? What can you afford? Do you want a smaller or bigger institution?
Now, use all the tools at your disposal, Scoir, U.S. News, College Board’s Big Future, college fairs, information sessions, or even youtube videos to begin naming your choices. Write as many as possible, it’s always good to take each one into consideration.
After this, you may need to narrow down your list. Delve deeper into each college, look at their website, watch videos of past or current students, and attend virtual sessions to find out what they each have to offer. It’s important to note that college admissions look at how well they believe you would match their school and how you stand out from other applicants. This often renders the process rather unpredictable. A good safeguard is to apply to a variety of school and spread your choices into three categories: dream schools (those with very competitive admissions), match schools (schools accepting students with similar extracurriculars/academic results as you), and safeties (schools you are confident would accept you, often with higher acceptance rates).
Step 2: Early Action, Early Decision, and Regular Decision
Do any stand out to you as your first choice? If so, you may consider early action or early decision applications. These often have earlier deadlines, around early November, depending on each college. They are a great way to show the institution how interested you are in attending their school and in return, they will inform you of your admissions status earlier.
However, you have to be careful. Early action often allows you to apply to many colleges and reject your acceptance for any reason. Early decisions are more tricky because they are binding. This means you are informing the college that if you get accepted you will be attending their school, which can be an issue if you’re heavily reliant on financial aid. Make sure to read through each college’s application policy when it comes to early decision and early action. Then, we have the regular decisions. These often have December, January, or even February deadlines, and give you freedom to apply to as many colleges as your heart desires and reject any competing acceptances.
Step 3: Requirements Checklist
Now that you have become familiar with the college or colleges you’ll be applying to, it’s time to find out about the application itself through their undergraduate admissions website page. This will be the place you’ll find all the information for that particular application. Things you want to look for are deadlines (for the application itself, financial aid, honors college, or any others it may provide), application type (does the college use the Coalition, Common App, Questbridge, Apply Idaho, or its own form?), and other requirements (Interviews, letters of recommendation, transcripts, portfolio, supplemental essays…)
Step 4: Complete the Application
This is the most straightforward step of college applications. Fill out the questions with your information through the application platform. If you need extra help on a particular section, contact the college admissions office or your school counselor to help you.
Step 5: The Essay
We’ve reached the most dreaded part of the process, the essay and supplemental questions. This is where colleges will see who you are as a person rather than statistics.
Read the prompts and write down any ideas that come to mind, short bullet points. If the supplemental question asks “why us?” think back on Step 1 and explain what interested you in this school and why you believe you would be a good fit. If you’re working on your personal statement, the trick is to tell a story that shows your personality. Think about what story only you could tell from this perspective. It doesn’t have to be a traumatic story, just make it unique.
Mrs. McClain, Boise High’s AP Literature and Composition teacher, has chimed in with some advice for students struggling to find a subject to write about. “First, review your ‘data’ and see what is missing (non-GPA, non-class, non co-curricular, non extra-curricular information) and find the the detail that humanizes or provides insight into who you are as a person (something that makes you intriguing such as a passion you have). Remember: mundane moments can make for great stories!”
The next step is to review your ideas and pick your favorite topics. Write everything that crosses your mind. Don’t worry about grammar, sentence structure, word count, or time. Simply write (and if you think you’ll get writer’s block, record yourself speaking and transcribe it afterwards). Once you’re done, go over everything. This is where you can narrow down your favorite idea, see where you’ve succeeded and where you’ve failed.
Then, clean up your essay— expand on some ideas, cut others, and correct your grammar and punctuation. Don’t forget to focus on your theme, show your character, and stay within the word count limit!
If you’re thinking that cleaning up an essay is easier said than done, just focus on yourself. According to Mrs. McClain, the most important part of the essay is showing your authentic voice, “if you have a natural funny wording then be that; if you are naturally serious be that. Don’t try to be someone or something you “think” the school is looking for…. Have a parent or close friend read your essay for nothing other than does it sound like you. You need to tell the story well enough that they experience the memory with you.”
Another aspect to consider is expressing yourself within the word count limit. “Take out as many conjunctions and replace them with punctuation,” Mrs. McClain advised, “many words can be removed if we utilize the beauty of punctuation. Choose one really strong word to replace with several lesser choices. Now, just go straight to the idea you want to stress versus trying to build up to the idea or phrase their prompt as part of the response. They know what they asked, so go straight to the point and craft it carefully with very specific word choice.”
The last step is revision. Find two to three trusted people (this can be a friend, a parent, a teacher, or even a tutor at the school’s Writing Assistance Center) to edit your essay. The trick is to ask them to leave comments rather than editing directly on it. This way you can choose how to improve your essay without losing your voice.
On an additional note, Mrs. McClain added, “A ton of pressure is put on the personal essay, but final decisions do not always stem from the essay. As an admissions officer two years ago told my students, it may come down to whether or not an applicant plays a specific instrument as that is what the marching band is needing for the upcoming year. All you can do is tell who you are and what you bring to the table authentically.”
Step 6: Financial Aid (and Scholarships)
It’s FAFSA (Free Application for Federal Student Aid) time! The first thing you need to do is make an FSA ID for you and one for a parent/guardian. Next, gather all of your financial records and complete the FAFSA questionnaire. Note that you may only add ten colleges to your FAFSA. If you need to include more institutions, follow the instructions to do so here.
As you fill out the application, you can link your FAFSA to the IRS Data Retrieval Tool and automatically fill out some of the questions. If you have any concerns about a question, click on the question mark next to each line to receive further information. Another helpful tool is to search for assistance in the FAQ or call/email/chat with their support center. Lastly, use your FSA ID to electronically sign the document and submit.
You should receive a confirmation email with your full application and EFC value—this is your Expected Family Contribution, not your financial aid. It is what they believe you can contribute towards your college tuition, according to your financial information. Keep in mind that you will fill out the FAFSA every year in college as well, meaning your financial aid and EFC may change accordingly.
In addition to the FAFSA, some colleges may require the College Board’s CSS Profile. It provides a more in-depth look at your financial status. If so, you will need to complete this questionnaire on top of the FAFSA to full accuracy and submit.
This is also the time to begin looking at scholarship opportunities. Again, look through all deadlines and requirements and get to work!
Step 7: Submit other Requirements
Remember the application requirements from Step 3? Look through what each college and all gather the materials you need.
Does it require letters of recommendation? If so, reflect back on your experience with teachers, mentors, coaches, etc.. Who stands out as knowing your character the most? Who would write the best letter of recommendation? Once you have settled on a person, ask them either in person or through email if they would be interested in writing you a recommendation. If they agree, send them a list with each college and deadlines to allow them to prepare for it and ask them if they would like any other materials, such as a brag sheet or a short meeting.
Other requirements you may need to worry about are portfolios and interviews. In this case, the best tip is to search online for further details on each college’s website or contact the admissions office.
Finally, talk to your counselor about submitting transcripts, SAT/ACT reports, and AP or SAT subject test scores. Keep in mind that several colleges have waived SAT/ACT score requirements for the 2020-2021 school year.
Step 8: Submit the Application
Once you have completed all aspects of the application, it’s time to review and submit! Don’t forget to pay for any application fees or submit the necessary information for a fee waiver.
Check back with each college to see if they have received all of your information. Make sure to regularly look through your email and write down the day each college will release their admissions decision.
In addition, Mr. Chehey, Boise High’s college and career counselor, commented “Besides the admission decision, I would be on the lookout for financial aid and scholarship awards, info on housing options and possible deposits, timeline/deadlines to ‘commit’ to the school…”
Once you’re done, it’s time to relax and celebrate. You’ve made it!